Welcome to the Part 1 of Android wear article series. You might be surprised why I suddenly started with android wear but It’s time to write about and explore something new. It’s been a while I haven’t shared about any new tool/technology, I wrote about Android Studio when it was in early stage. Regarding continuing lazy android developer series, I would be adding some articles into it, not sure though but still I would say this series is incomplete without database, testing and many more things.
What’s Android wear series about?
In Android wear series, we will be exploring and discussing about android wear development. I have been using Samsung Gear for the development since a month and I have explored about different use cases of it. If you don’t have real wear watch then don’t worry because you can always have emulator to start with basic stuffs and test it out. The main reason for writing this series is to help newbie to give them an early stage and an easy start.
In this part
In this part, we are going to download and setup android wear. If you are already done with android wear installation and setup then skip this part and wait for the next part!
Brief about Android Wear
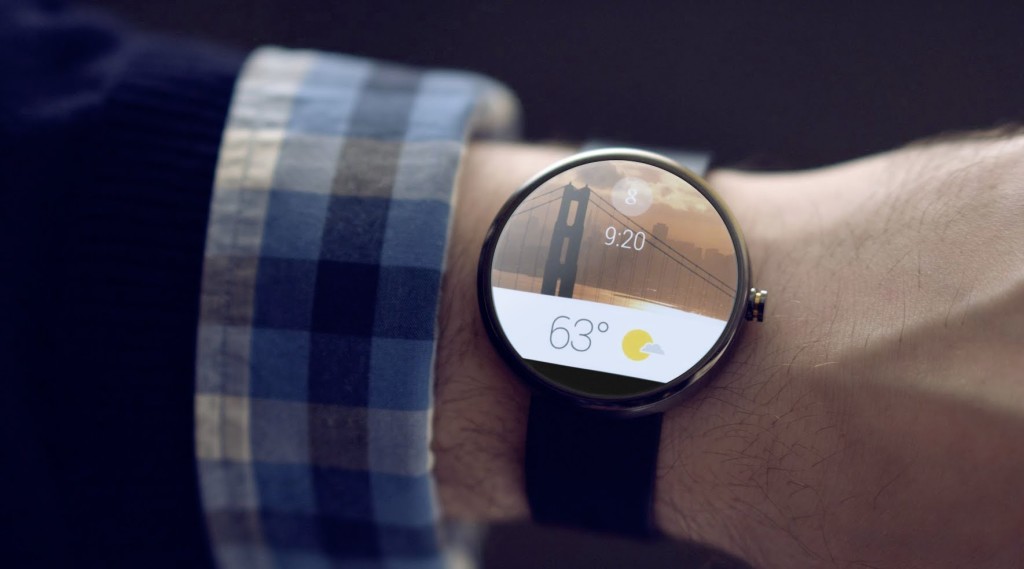
Android Wear is a new platform for android wearable devices. It was announced during Google I/O 2014. Android Wear extends the Android platform to a new generation of devices, with a user experience that’s designed specifically for wearables. Currently android is extended to Smart Watch but we can’t be sure about Google because they may extend Android into other forms of wearable.
Some known usages of Android wear are:
- Measure fitness
- Notifications of new mails/calls/text messages
- Response to texts, emails and instant messages by voice.
- Control various stuffs of your android phone from watch, like Play/Pause music.
- Ask questions and get loads of information simply by saying “Ok Google”
Download & Install
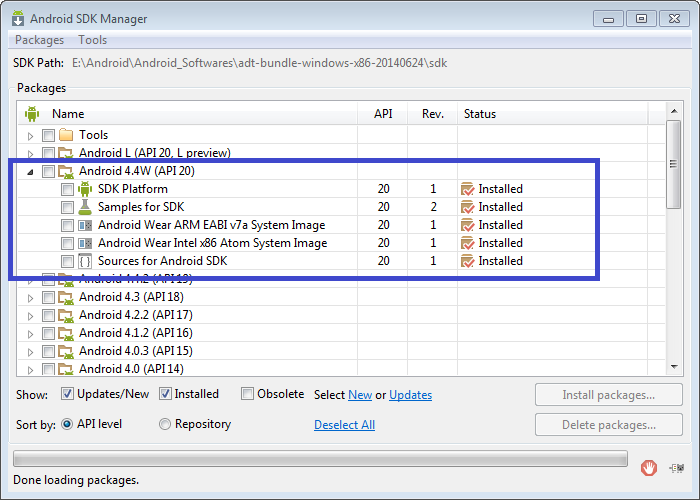
To start with Android wear development, we are required to download Android 4.4W (API 20) from SDK manager. Just launch a SDK manager and download Android 4.4W. You may required to update SDK tools to get Android 4.4W SDK.
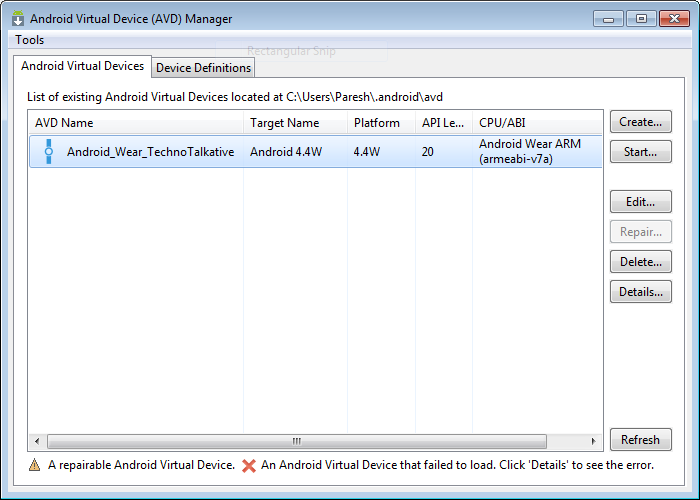
Create Android Wear AVD
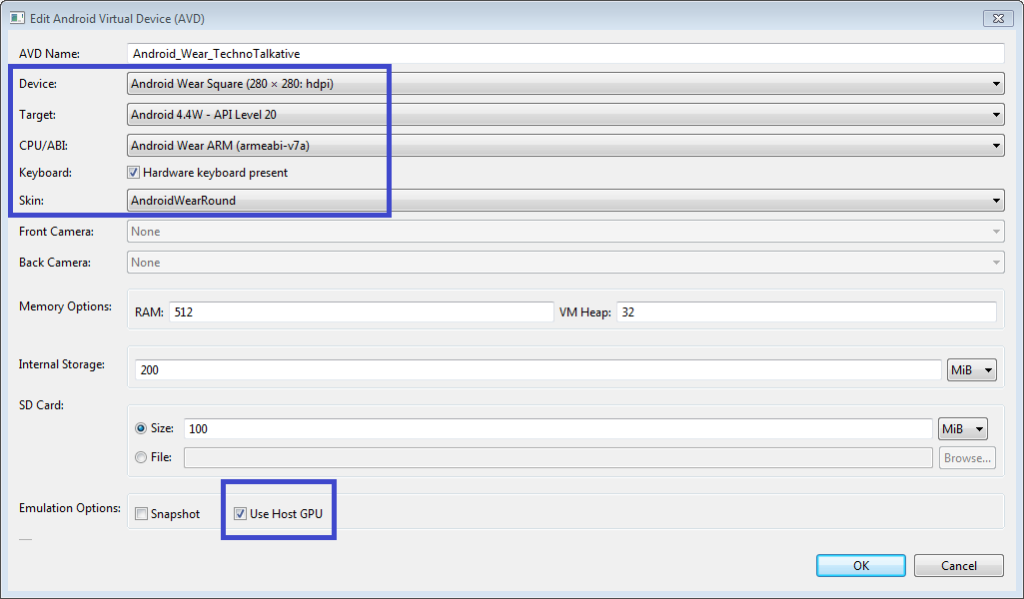
To create and set up android wear AVD, perform below steps:
- Open AVD Manager
- Click on Create…
- Fill out below information and leave other fields with default values:
- AVD Name – Android_Wear_TechnoTalkative
- Device – Android Wear Square or Android Wear Round
- Target – Android 4.4W – API Level 20
- CPU/ABI – Android Wear ARM (armeabi-v7a)
- Keyboard – Check ON Hardware Keyboard present
- Skin – AndroidWearSquare or AndroidWearRound
- Snapshot – Not Selected
- Use Host GPU – Check it ON
- Click OK.
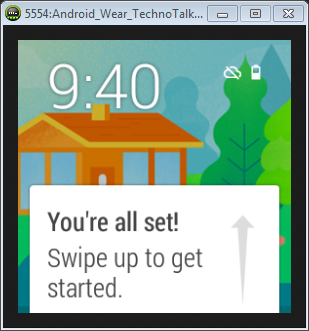
Start Android wear virtual device
To start android wear virtual device, perform below steps:
- Select created Android wear AVD, which is Android_Wear_TechnoTalkative in our case.
- Click Start…
- Select Scale display to real size and give Screen size (e.g. 4.0)
- Click on Launch button
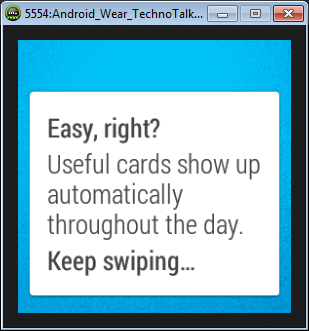
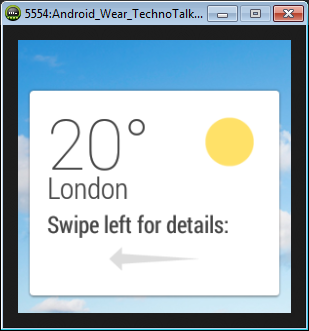
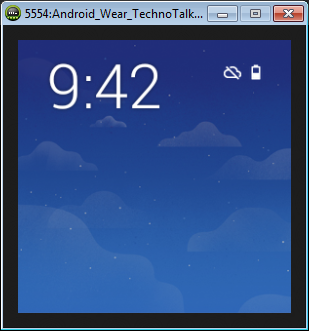
- Wait until AVD finished loading and shows home screen. It will take you through tutorials, just go through it.
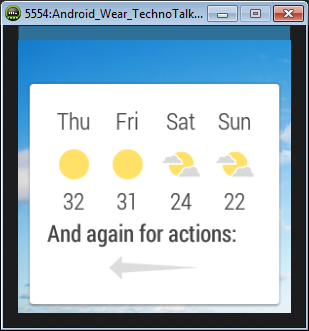
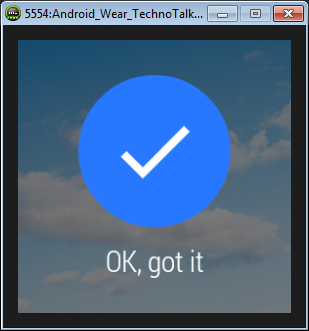
As I said above, it takes time to load and will take you through some tutorials. Wait for it until it shows below screens.
Summary
In this part, we talked about Android wear and its usage, downloaded Android 4.4W and setup emulator. In next part, we will run our first android wear program. Stay tuned! I am sure you liked this part and also this series!