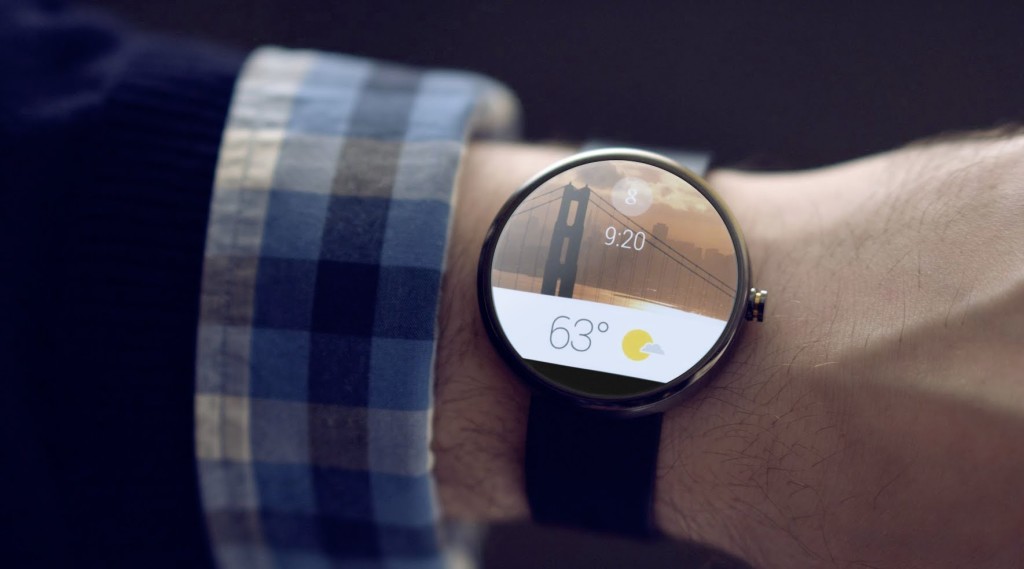
Welcome to the Part 2 of Android wear article series. In previous article, we talked about Android wear and it’s usage, installation and setup. If you aren’t done with installation then do it first and then come back again to this part.
In this part
In this episode, we are going to say “Hello World” to Android Wear world. I know it’s super easy process but still learning any new programming is incomplete without saying “Hello World”! We are also going to discuss about different screen layouts, WatchViewStub class and how it actually detects whether the clock is round or square. If you are already done with ‘Hello World!’ then you could skip steps and directly jumped over the down part.
Prerequisite
We would be using Android Studio as an IDE for Android Wear application development. We could use other IDEs as well! If you haven’t have downloaded Android Studio yet then go ahead and download it.
Hello World to Android Wear
Let’s create a new Android project for Android Wear, same process as we do for creating android project for mobile/tablet.
Step 1: File -> New Project
Step 2: Give application name (e.g. WearDemo1) and Company domain (technotalkative.com)
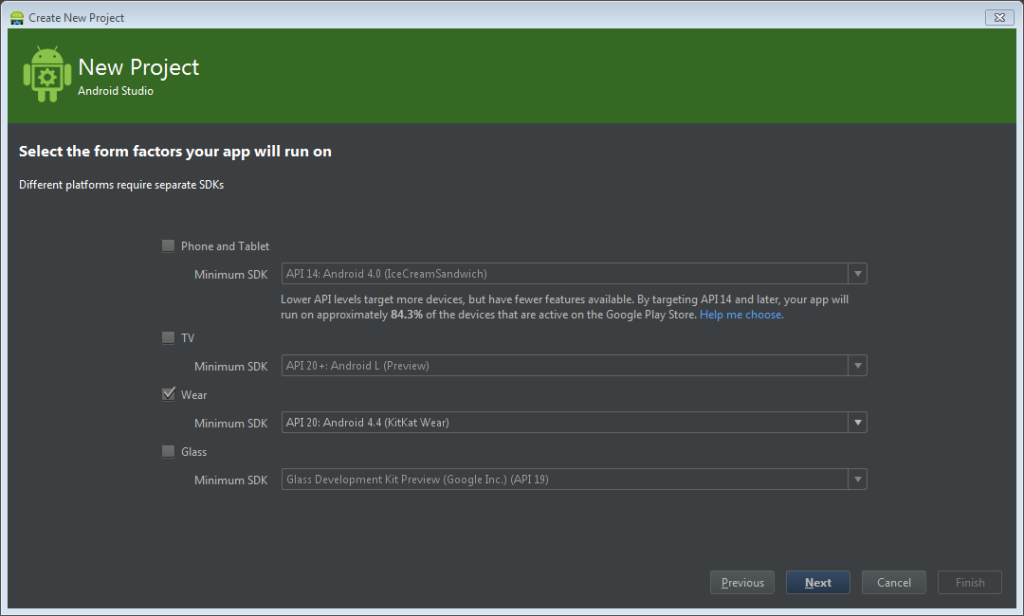
Step 3: Select Wear. (Mark all other options unchecked i.e. Phone and Tablet and other)
Step 4: In Minimum SDK, select API 20: Android 4.4 (Kitkat Wear), Press Next.
Step 5: Select Blank Wear Activity, Press Next.
Step 6: Give Activity Name, Layout Name, Round Layout Name, Rectangular Layout Name.
Step 7: Click on Finish.
Step 8: Launch Android Wear square or round emulator. We have already created one emulator/AVD during Part 1: Installation and Setup. Just start it and wait until home screen comes into the screen.
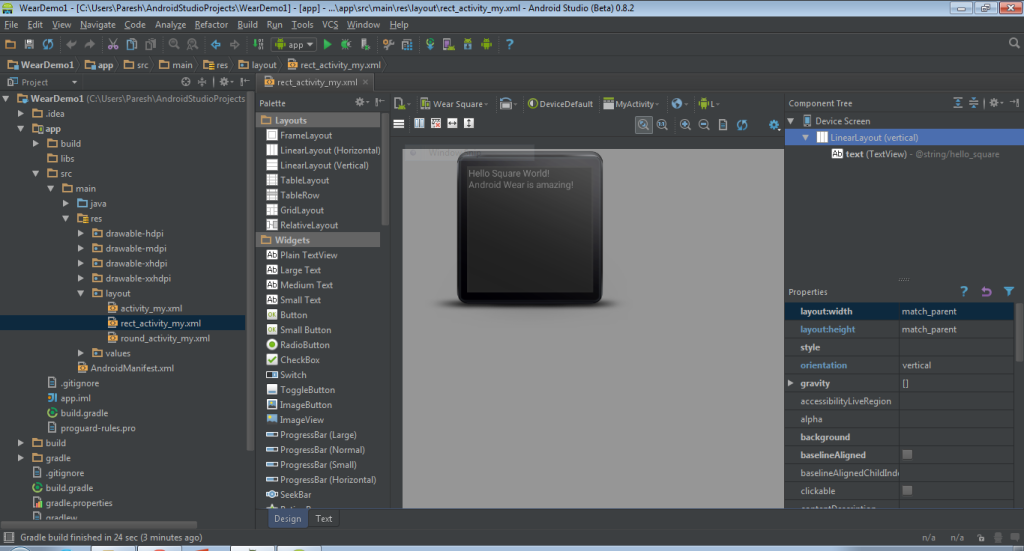
Step 9: Open rect_activity_my.xml (i.e. XML layuot for square screen), drag and drop Large TextView and change text with “Android Wear is amazing”, do the same for round_activity_my.xml layout (i.e. XML layout for round screen).
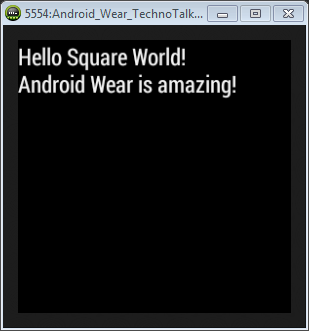
Step 10: Simply Run the application by Run -> Run ‘App’.
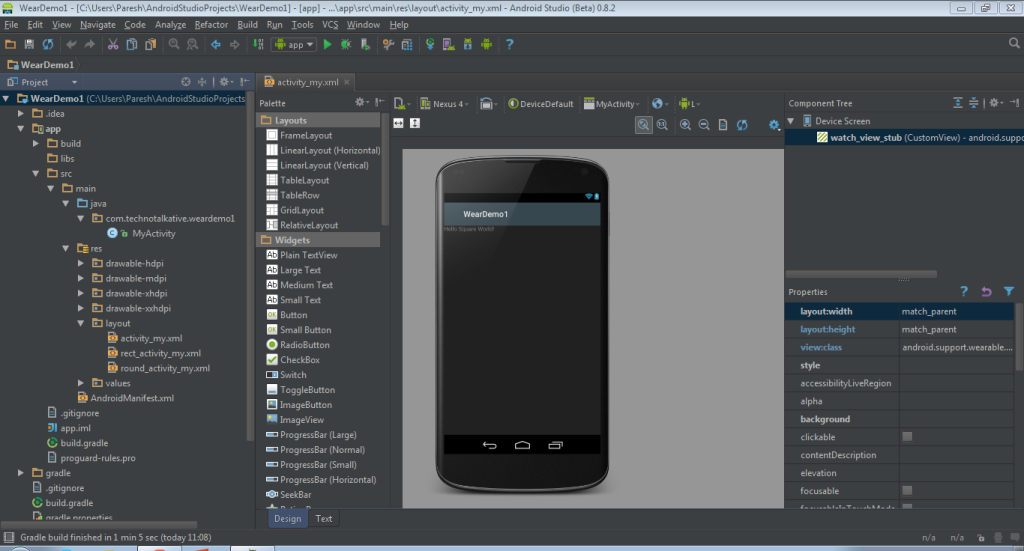
2 different layouts and WatchViewStub
Yes, we get 2 different layouts for the same screen, just to provide compatibility for round and square screen. Now, question should be how the main activity layout decides which layout to display? Open main activity layout file and check XML code, you would find WatchViewStub with 2 attributes:
app:rectLayout="@layout/rect_activity_my"
app:roundLayout="@layout/round_activity_my"
WatchViewStub:
WhatViewStub is the class which decides which layout to inflate, depending on the shape of the wearable’s screen. It is one of the UI widget that’s provided by the wearable support library. Shape of the device is actually reported by onApplyWindowInsets. If the call is not delivered by initial measurement then the container will be assumed rectangular by default.
stub.setOnApplyWindowInsetsListener(new View.OnApplyWindowInsetsListener() {
            @Override
            public WindowInsets onApplyWindowInsets(View v, WindowInsets insets) {

                if(insets.isRound()) {
                    // Yes device is round
                }
                return null;
            }
        });
Don’t be confused, we don’t need to write above code to display suitable XML layouts, but this is just to show a demo how WatchViewStub works actually.
Summary
I am sure you liked this episode and you might have learnt few new things. Hello World is always a fun lesson for starting with new programming or technology. Till the next part, try developing simpler examples and try running it on square and round shapes of watch. See you in next article!