
Welcome to the third part of the Android design support library tutorial series. So far we have talked about Floating action button (FAB) and Snackbar in this series and yet to explore actual awesomeness of the design support library, stay tuned!
Styling Snackbar
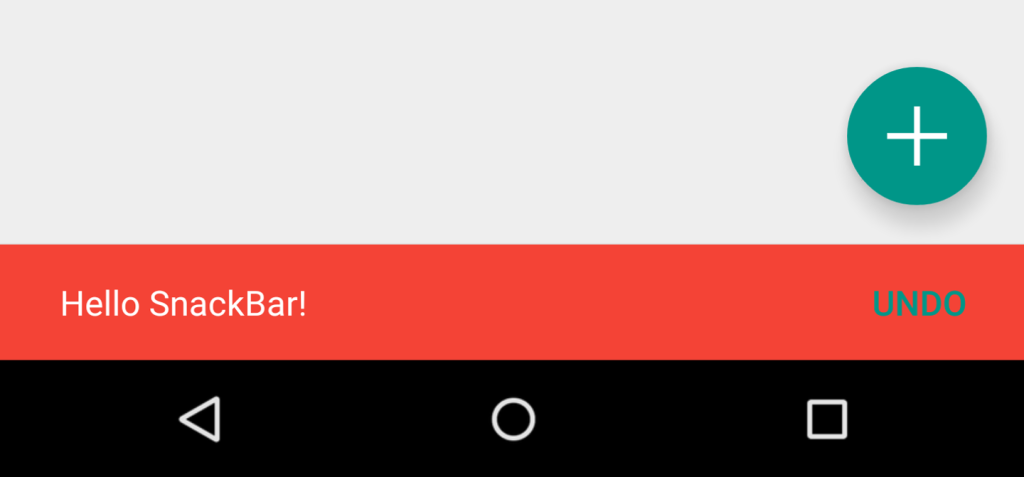
In the previous part, we have seen how we can display the Snackbar, but today we will see how we can display snackbar in different colors to make it a meaningful indication to the user, say for example display red background snackbar to show alert message.
Actually, I was making an improvement in GDG android application, by replacing Crouton with Snackbar, but Crouton provides different styles like STYLE.ALERT, STYLE.INFO so I thought about displaying same type of colored snackbar and I got an idea from the Gist shared by Gabriele Mariotti. Here is the Snackbar improvement I just made into the GDG android app.
How to apply background color to Snackbar
You can get the core Snackbar view by using getView() method and then apply whichever color you want.
For example:
snackbar.getView().setBackgroundColor(colorId);
Below is the class ColoredSnackbar contains some methods which is actually applying background color based on the type user want to display.
public class ColoredSnackbar {
private static final int red = 0xfff44336;
private static final int green = 0xff4caf50;
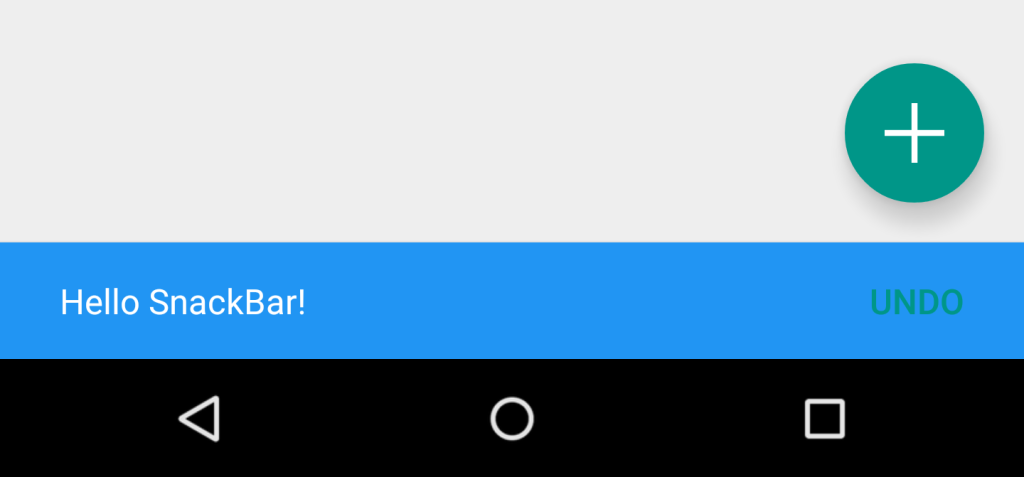
private static final int blue = 0xff2195f3;
private static final int orange = 0xffffc107;
private static View getSnackBarLayout(Snackbar snackbar) {
if (snackbar != null) {
return snackbar.getView();
}
return null;
}
private static Snackbar colorSnackBar(Snackbar snackbar, int colorId) {
View snackBarView = getSnackBarLayout(snackbar);
if (snackBarView != null) {
snackBarView.setBackgroundColor(colorId);
}
return snackbar;
}
public static Snackbar info(Snackbar snackbar) {
return colorSnackBar(snackbar, blue);
}
public static Snackbar warning(Snackbar snackbar) {
return colorSnackBar(snackbar, orange);
}
public static Snackbar alert(Snackbar snackbar) {
return colorSnackBar(snackbar, red);
}
public static Snackbar confirm(Snackbar snackbar) {
return colorSnackBar(snackbar, green);
}
}
How to use?
Snackbar snackbar = Snackbar.make(getView(), R.string.hello_snackbar, Snackbar.LENGTH_SHORT);
ColoredSnackBar.alert(snackbar).show();
Where, I used `getView()` in fragment to get the view but you can apply here FrameLayout or CoordinatorLayout.
BTW, if you know how to customize the Snackbar like displaying an icon left to the message then please share! See you in next part.